Swapping out your old bathroom vanity light might seem intimidating, but it’s a manageable DIY project that can instantly refresh your space. Whether you’re upgrading for style, brightness, or energy efficiency, follow this easy guide to do it safely and correctly.
✅ Safety First: Prep Before You Start
Before grabbing any tools, take a few important safety steps:
- Cut the power at the breaker: Find your home’s circuit breaker and switch off the power to the bathroom.
- Confirm it’s off: Use a voltage tester near the fixture wires. If it lights up or beeps, the circuit is still live.
- Handle wires carefully: Only touch wires once you’re absolutely sure there’s no electricity running through them.
Step 1: Power Down
Head to the breaker box and shut off the bathroom’s circuit. Test the light switch to make sure the power is off, and double-check with your voltage tester. Safety isn’t optional!
Step 2: Remove Light Bulbs
Unscrew the bulbs from your current vanity light. Set them aside carefully—if they’re still good, they can be reused or saved as spares.
Step 3: Take Down the Old Fixture
Using a screwdriver, loosen and remove the screws holding the fixture to the wall. Hold the fixture with one hand while unscrewing to prevent it from falling. Once it’s free, gently pull it away to expose the wiring behind.
Step 4: Disconnect Wiring
Twist off the wire nuts joining the wires from the wall to the fixture—typically black (live), white (neutral), and green or bare (ground). Separate the wires and remove the old fixture completely.
💡 Note: Some older fixtures may not have a visible junction box. If your new light requires one, consider installing an “old work” box to meet electrical code requirements.
Step 5: Prep the New Fixture
Unpack your new vanity light and go through the installation manual. Most models will include a mounting bracket, screws, and wire nuts. Lay out all the parts and identify which wires are which. If your new fixture is LED, you’ll enjoy long life, low heat, and big energy savings.
Step 6: Install the Bracket and Wire the Fixture
- Attach the mounting bracket to the wall or junction box using the provided screws.
- Connect the wires:
- White to white (neutral)
- Black to black (live)
- Green or bare copper to the ground
- Twist on wire nuts securely and wrap connections in electrical tape for added safety.
Step 7: Secure the Fixture
Once the wiring is complete, push the wires back into the box, position the fixture over the mounting bracket, and screw it into place. Make sure it’s straight and snug.
Step 8: Power On and Enjoy
Go back to your breaker panel and switch the power back on. Flip the light switch and admire your handiwork—your bathroom now has a fresh, updated glow!
✅ Final Tips
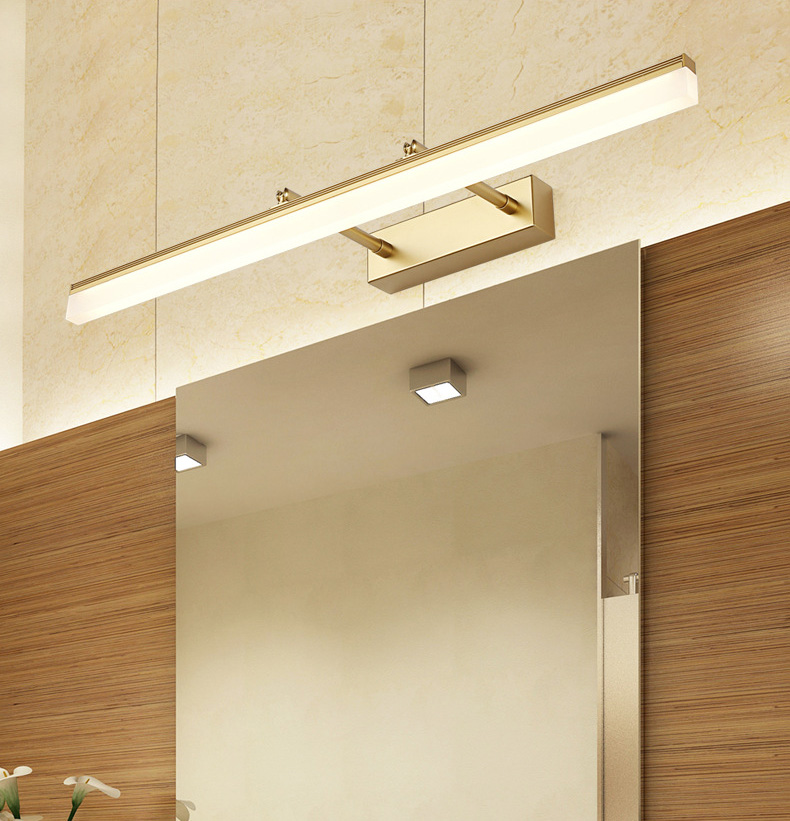
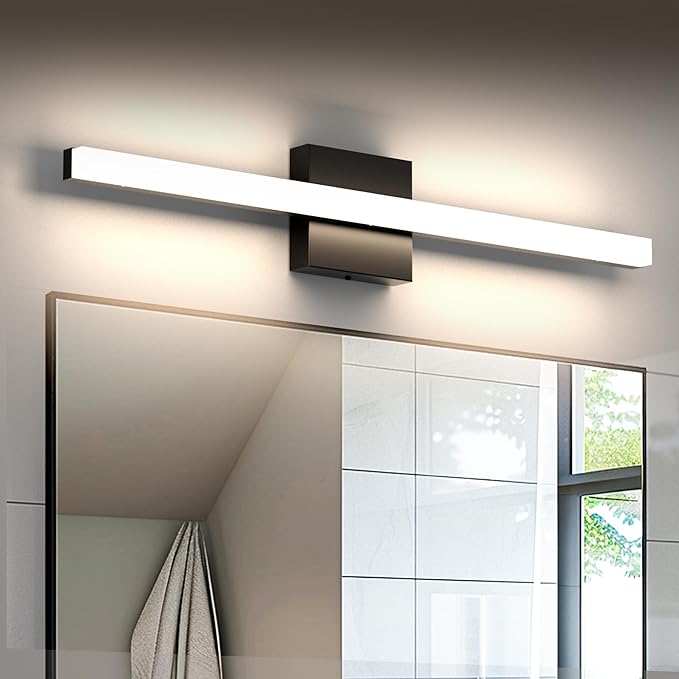
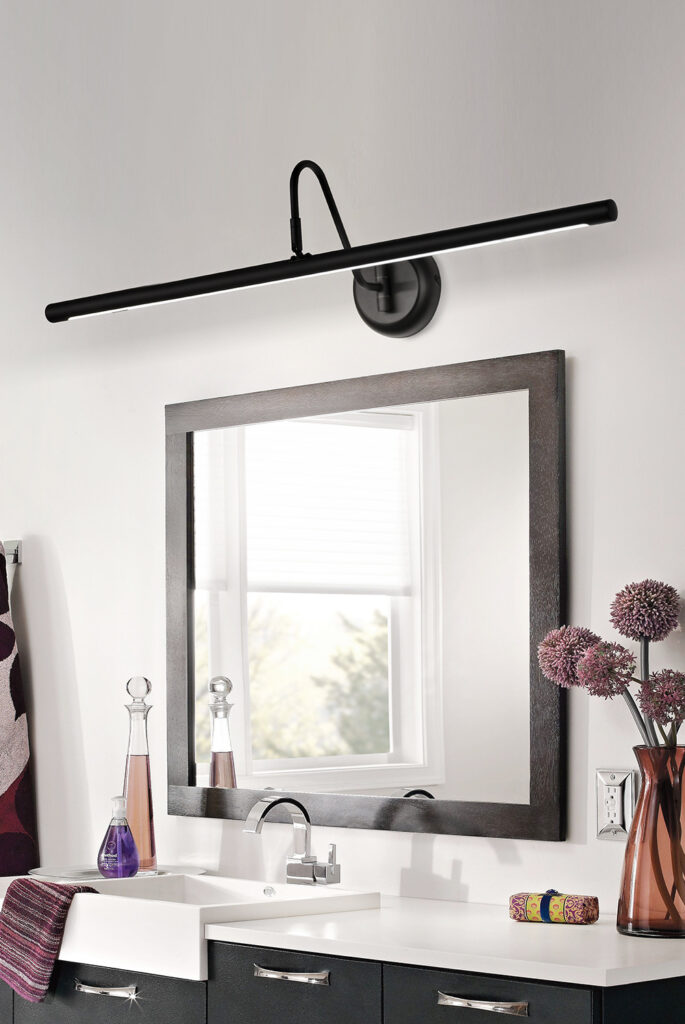
- Choose a vanity light that fits the size and style of your mirror and space.
- If working with older wiring or unsure about installation, consult a licensed electrician.
- For added flair, consider matching your new light with other updated bathroom fixtures like faucets or towel bars.
Updating your vanity light isn’t just about looks—it can improve function, save energy, and brighten your entire morning routine. With a little care and the right steps, it’s a DIY win you’ll enjoy every day.