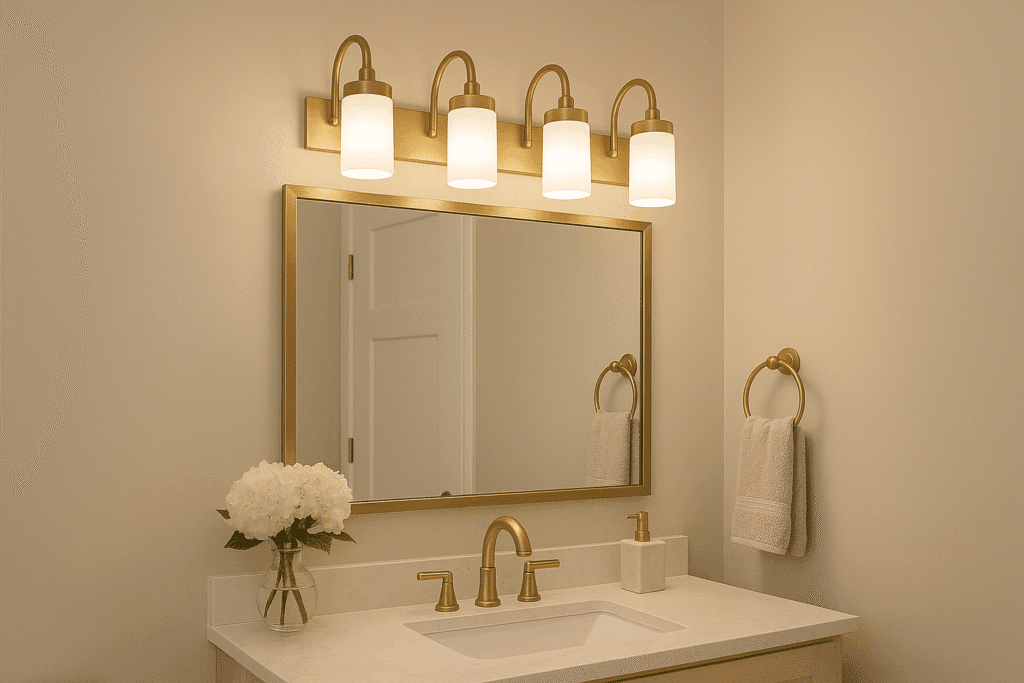
Installing a vanity light above your bathroom mirror is one of the easiest ways to brighten up your space and make daily routines like shaving or makeup more comfortable. With a few tools and some care, you can complete this project yourself.
Tools & Materials You’ll Need
- Vanity light fixture
- Screwdriver (flathead & Phillips)
- Wire stripper
- Voltage tester
- Mounting screws (usually included)
- Wire nuts & electrical tape
- Drill (if new holes are needed)

Step 1: Turn Off the Power
Before you touch any wires, switch off the power to the bathroom at your home’s breaker panel.
⚡ Use a voltage tester to confirm the wires are not live.
Step 2: Remove the Old Fixture (if any)
- Unscrew the old vanity light.
- Carefully disconnect the wires by loosening the wire nuts.
- Remove the old mounting bracket.
Step 3: Install the Mounting Bracket
- Your new light should come with a mounting bracket.
- Secure it to the electrical box using the included screws.
- Make sure the bracket is level so the fixture hangs straight.
Step 4: Connect the Wires
- Match the wires: black to black (hot), white to white (neutral), green or bare to ground.
- Use wire nuts to connect, and wrap them with electrical tape for safety.
- Carefully tuck the wires into the box.
Step 5: Attach the Vanity Light
- Position the fixture over the bracket.
- Tighten the screws until secure.
- Attach any shades or decorative parts.
Step 6: Turn On the Power
- Flip the breaker back on.
- Test your new vanity light – it should turn on smoothly.
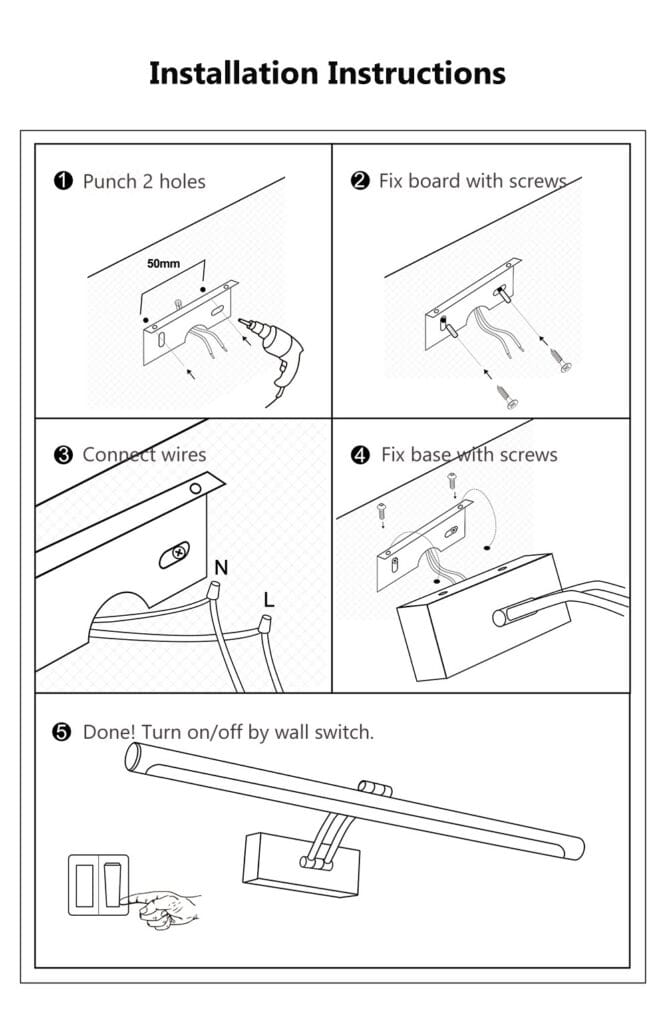
Simple Diagram
Here’s a basic illustration of the installation process:
         [ Wall ]
   ┌─────────────────┐
   │  Electrical Box │
   └─────────────────┘
        |   |   |
      White Black Ground
        |   |   |
   ┌─────────────────┐
   │  Vanity Light   │
   │   Fixture Bar   │
   └─────────────────┘
Legend:
- White wire = Neutral
- Black wire = Hot
- Green/Bare wire = Ground
Safety Tip
If you’re ever unsure about wiring or the electrical box looks damaged, call a licensed electrician. Safety should always come first.